

A step-by-step plan to reduce risk before you buy land or order steel
A mini storage business can look simple from the outside. The hard part is building the right facility on the right site, with approvals you can actually get.
This guide helps you plan, budget, and choose the right build approach so you can move from ideas to build-ready drawings.
- Step 1: Validate demand in your target area
- Step 2: Pick a site that can actually get approved
- Step 3: Zoning, permitting, and code reality check
- Step 4: Plan the facility layout that matches how you will lease
- Step 5: Build a real budget and timeline without guesswork
Step 1
Validate demand in your target area
Start with the market, not the building. If demand for storage is weak in your area, a perfect design layout won’t matter.
What to check before you commit to anything:
- Nearby competition and facility mix (drive-up, climate, RV/boat)
- Visibility, access, and signage limits
- Local growth signals (new rooftops, business corridors, development)
- Pricing pressure (discounting, promos, rate volatility)
If you want climate controlled storage, validate that demand specifically. Climate units can lease well, but they change construction scope and operating costs.
A mini storage feasibility study doesn’t have to be complex. You’re looking for proof renters exist, competitors aren’t overbuilt, and your site is easy to find.
Step 2
Pick a site that can actually get approved
Many first-time projects fail at the site-planning stage. The land looks good, but access, drainage, or utilities create expensive surprises.
Focus on feasibility basics:
- Entrances/exits and turning space for large box trucks
- Grading, drainage, and stormwater paths
- Utilities availability and service distance
- Setbacks, buffers, and usable area of the land
- Soil unknowns that can change slab and foundation scope
Bring this to your county approval board early in the process:
- Allowed use and approval path (by right vs special use)
- Setbacks, buffers, and landscaping rules
- Traffic and driveway permit requirements
- Stormwater expectations and detention rules
A site that’s easy to approve is usually worth more than a cheaper parcel that is stuck in approval limbo for months.
Step 3
Zoning, permitting, and code reality check


Permits for storage facilities are not one-size-fits-all. Reviews and inspections vary by county, and self storage can trigger extra requirements in some areas.
Plan for common approvals:
- Site plan review and zoning approval
- Building permit and inspections
- Fire/life-safety review (more common with climate-controlled layouts)
- Utility coordination and driveway permits
Code requirements also drive design. That’s why quoting should be location-specific, not generic.
Many jurisdictions require stamped building and foundation plans. When required, TruSteel can provide county-specific stamped sets aligned to your location and scope.
Step 4
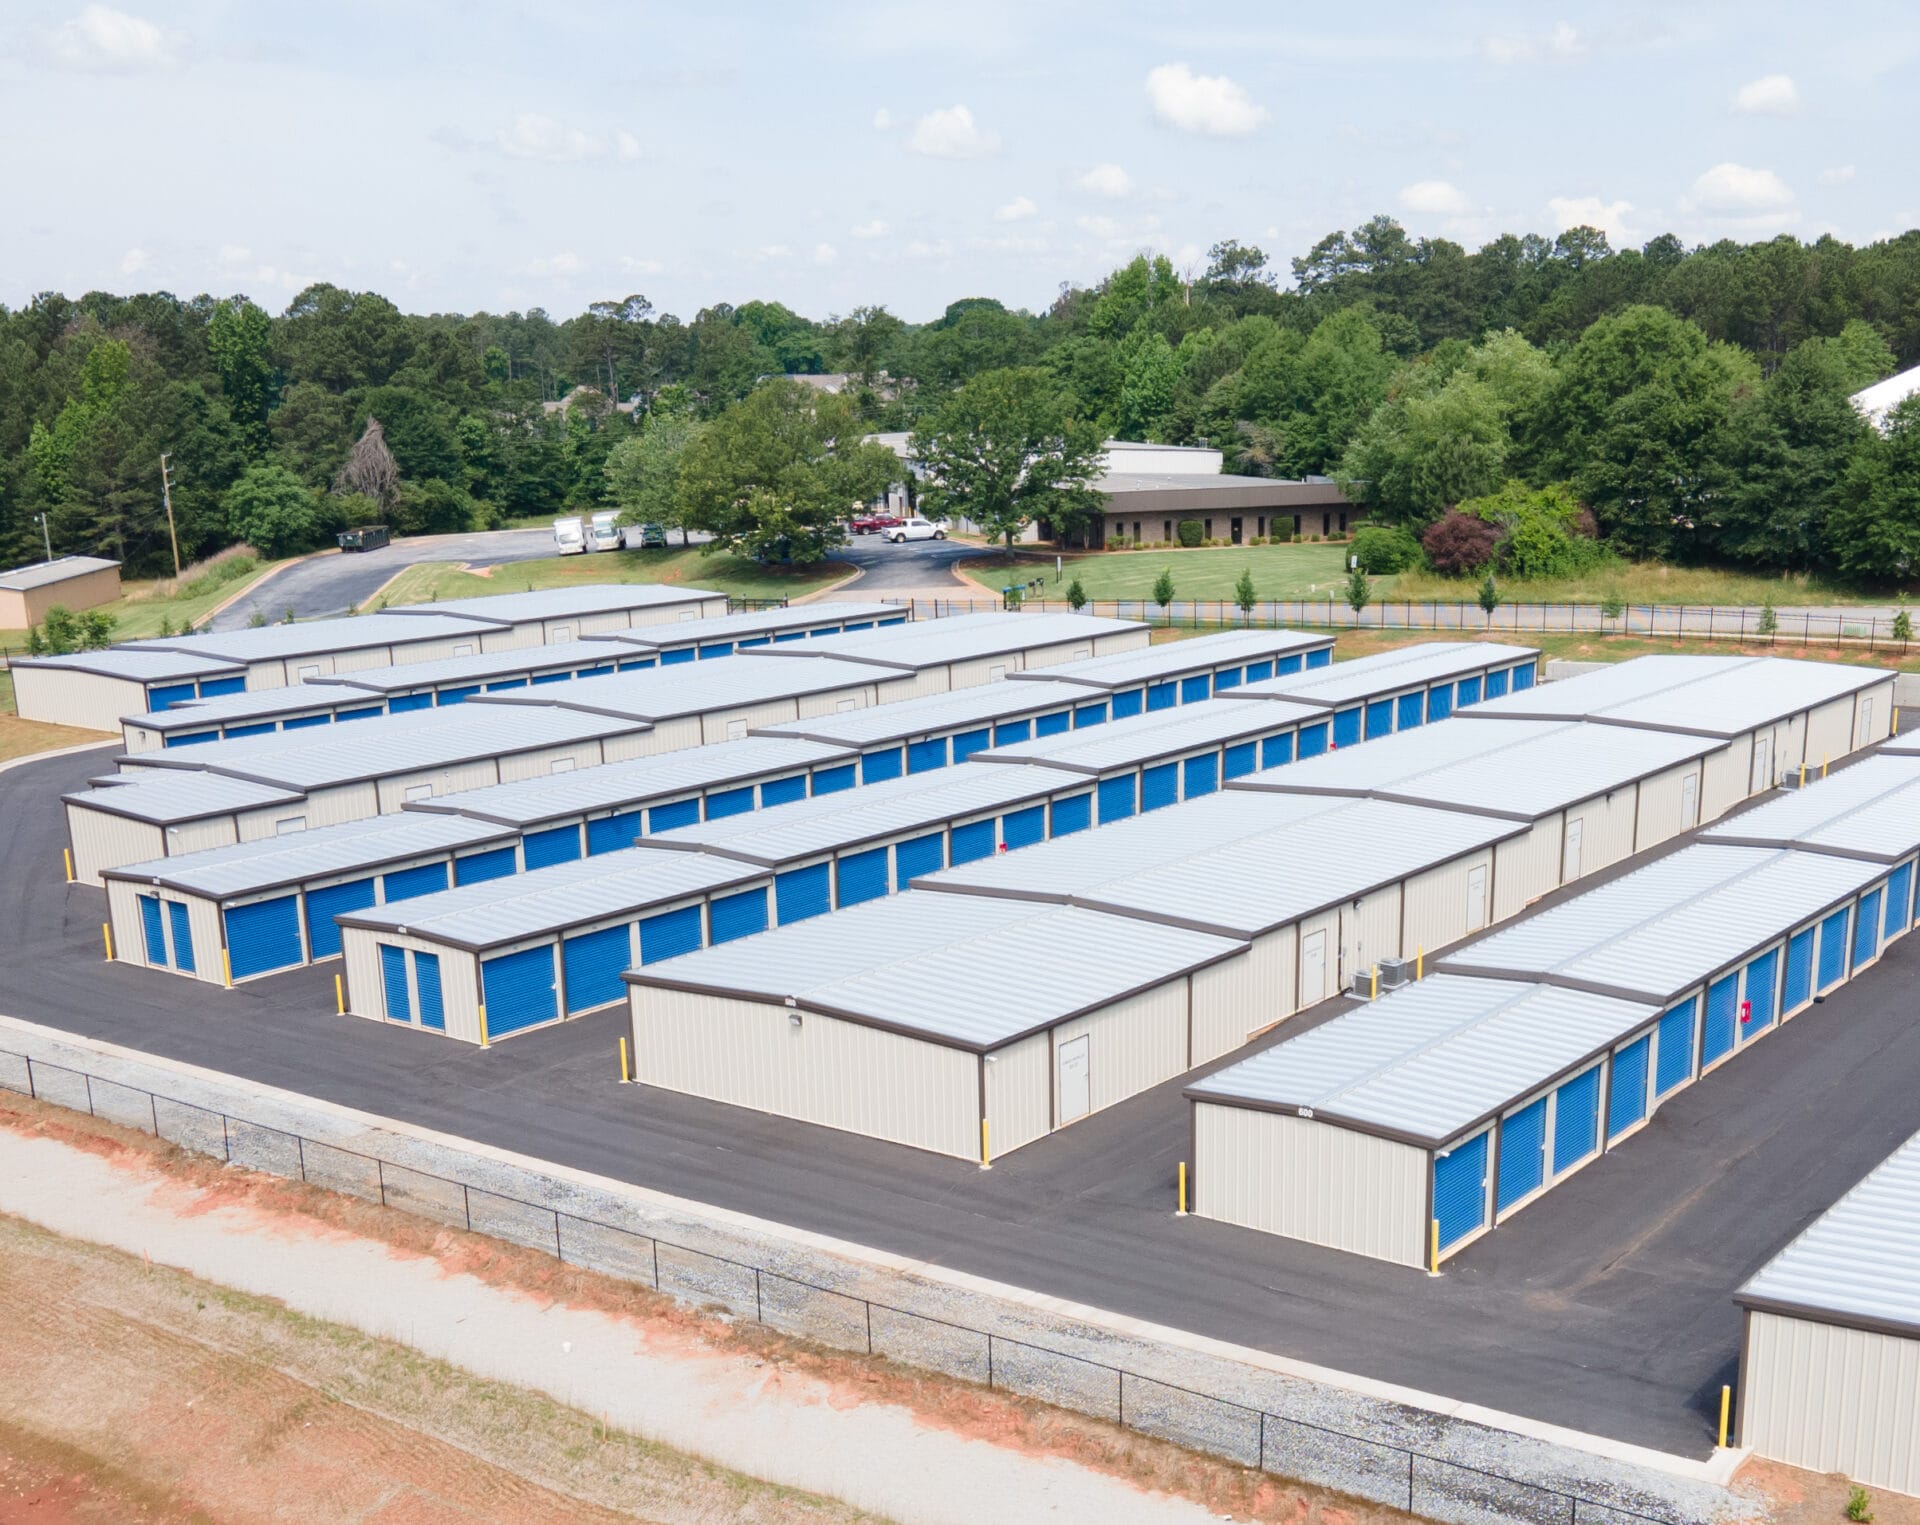
Plan the facility layout that matches how you will lease
Your storage unit facility layout can make or break the experience for your customers and staff. You’re choosing what you can rent, how tenants move, and how the property runs every day.
Start with your facility model:
- Drive-up rows for fast access and simple operations
- Climate-controlled buildings for higher-finish storage
- Mixed sites that blend both drive-up and climate-controlled units
If you expect to expand, plan the phases now. Self storage expansion phases work best when future rows, drive aisles, and utility runs are planned from day one.
Step 5
Build a real budget and timeline without guesswork
Mini storage startup costs are rarely just “the building.” Your pro forma should separate site costs from building costs so you can see where the biggest risks are.
Use these buckets for your budget:
- Site work (grading, drainage, utilities)
- Slab/foundation
- Steel building package
- Doors and hardware
- Insulation and moisture control (as needed)
- MEP (electrical/lighting, HVAC for climate, plumbing if included)
- Security and access
- Soft costs (engineering, permitting, surveys)
Your timeline has the same stacked structure. One key checkpoint is stamped drawings. As a general guideline, stamped drawing timelines are often 2–4 weeks for basic projects and 8–16 weeks for complex scopes. Permitting and inspections can extend schedules depending on local review cycles.
With the right basics, TruSteel can typically deliver a quote plus a preliminary sketch in 24–72 hours.
Providing the information below can dramatically improve the pricing accuracy of your quote:
- Project zip code and target footprint
- Facility type (drive-up, climate, or mixed)
- Rough concept sketch and unit mix
- Wall height, office/security needs, and desired build date
Step 6
Choose your build approach: kit-only vs turnkey
A self storage building kit is a strong fit when you already have a GC and you want to control trades and schedule. You need to focus on a clean scope, accurate drawings, and reliable delivery.
The turnkey approach is a better fit when you want fewer handoffs and one accountable partner managing the lion’s share of the project.
Questions to ask any turnkey service provider:
- What’s included and excluded in the building package?
- Will the building be engineered for my location and loads?
- Do you provide stamped plans if my county requires them?
- What warranty covers panels and primary framing?
- How do you support the GC or installer during construction?
If you’re deciding between kit-only and turnkey, talk to a self-storage building specialist like TruSteel Buildings. We specialize in mini-storage/self-storage solutions and can help you through the entire process.


Our Process: planning-first support from concept to build-ready
You don’t need a perfect plan to start. You need clear direction, realistic scope, and documentation that keeps permitting moving.
A typical flow looks like this:
- Share location, target size, and intended use
- Receive a quote + preliminary sketch in 24–72 hours (with the right inputs)
- Move into engineering and stamped plans as required
- Coordinate delivery based on access and schedule
- Build with your GC, your crew, or installer support where available
For building packages, see our Mini Storage Buildings and Self Storage Buildings service pages. If you’re still building a budget, read our “Cost to Build Storage Units” guide.
Why choose TruSteel Buildings for self storage planning and builds
When you’re investing in mini storage, speed and clear communication matter. You need straight answers, code-ready documentation, and a partner who stays engaged after the quote.
TruSteel brings:
- A single point of contact from quote through delivery
- 100% American-made steel packages
- IAS-accredited steel manufacturing and vendor supply chain
- County-specific stamped plans where required
- A 30-year manufacturer’s warranty on panels & columns
- BBB Accredited with an A+ rating
- Nationwide service with a strong history throughout the Southeast
Ready to turn your plan into a build-ready quote?
If you have a zip code, a rough layout idea, and a target footprint, you’re ready to start. We’ll help you tighten scope, price the building package, and map the next steps.